Lens Calibration
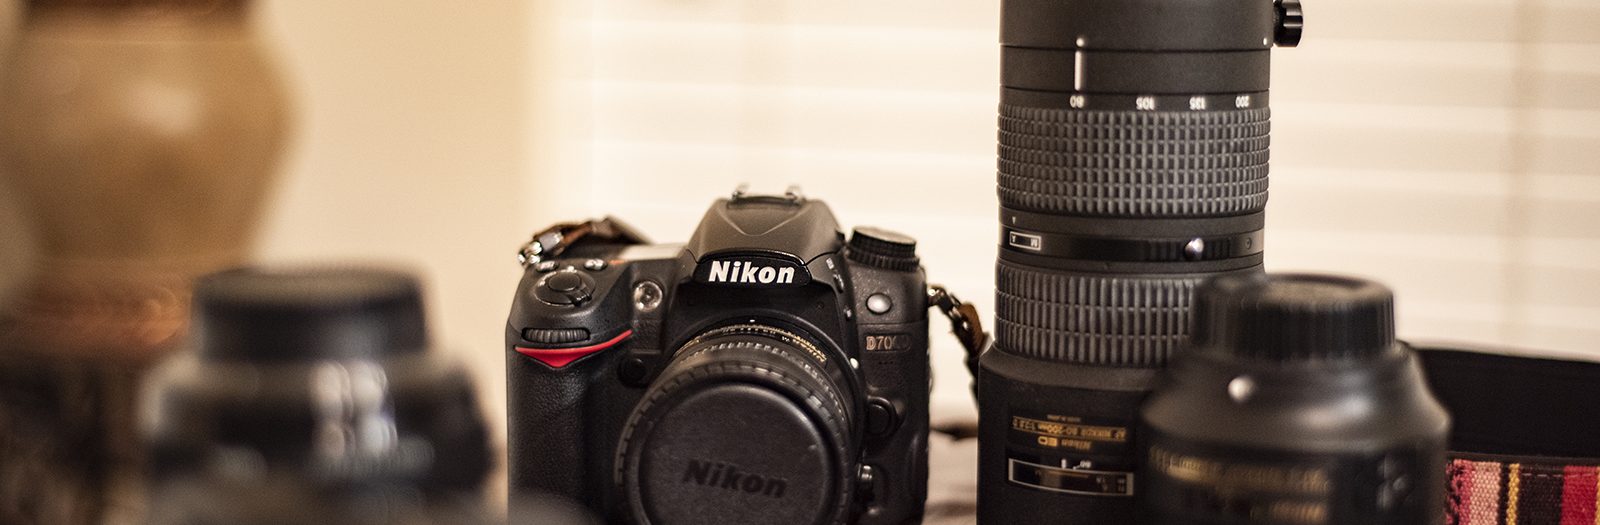
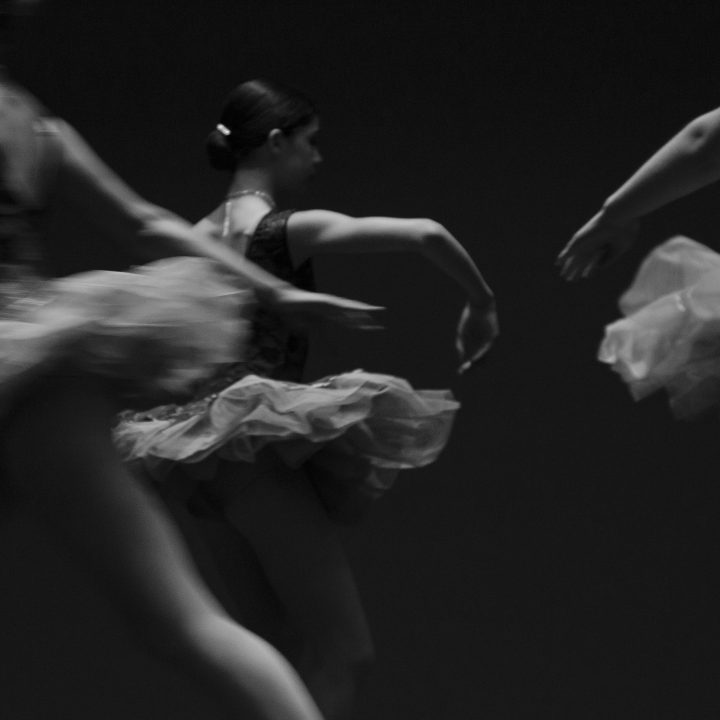
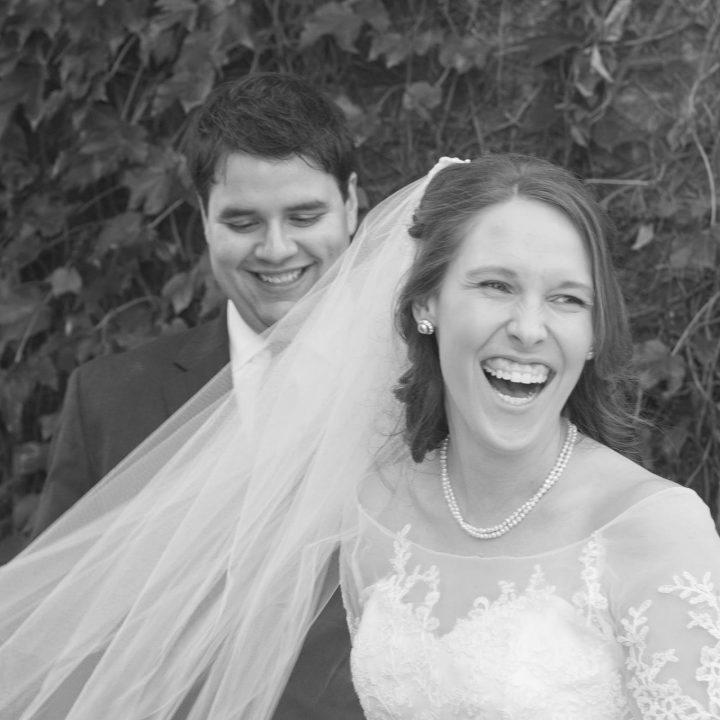
A commonly overlooked element to your technical photography game, that may be seriously effecting your focus is camera calibration. A surprisingly high number of photographers do not/have not/do not know how to calibrate their lenses and camera. The result can be a consistently back or forward focused image. To landscape and architecture photographers this may not be a deal breaker, or even something they notice in their work. The small aperture openings they use for maximum depth of field is extremely forgiving for a mildly inaccurate focus. However, portrait, commercial, and wildlife photographers need to be able to rely on the accuracy of their auto focus to provide consistent and reliable results. For myself, I tend to shoot portraits on the widest opening possible, or close to it, to provide a clean image with as little internal complexity as possible. In this case, an inaccurate auto focus could result in focus dropping from a newborn’s eyes to their ear, which seems minor, but ends up as a wildly distracting mistake in the final image, rendering it unusable. Lenses need to be calibrated to your camera body for the best possible results.
Calibrating your lens to your camera does not have to be an overly complicated process, however, not all cameras are capable of auto focus fine-tuning. Also, make note that not all camera systems use the same name for this feature.
- Nikon- AF Fine-Tune
- Canon- Auto Focus MicroAdjustment
- Pentax – AF Adjustment
- Sony- AF Micro Adjustment
- Olympus – AF Focus Adjust
All of these functions effectively do the same thing, they simply have different names for different systems. To verify if your DSLR camera supports this feature, reference your camera’s user guide (if you lost the user guide, a quick internet search should yield the results you are looking for).
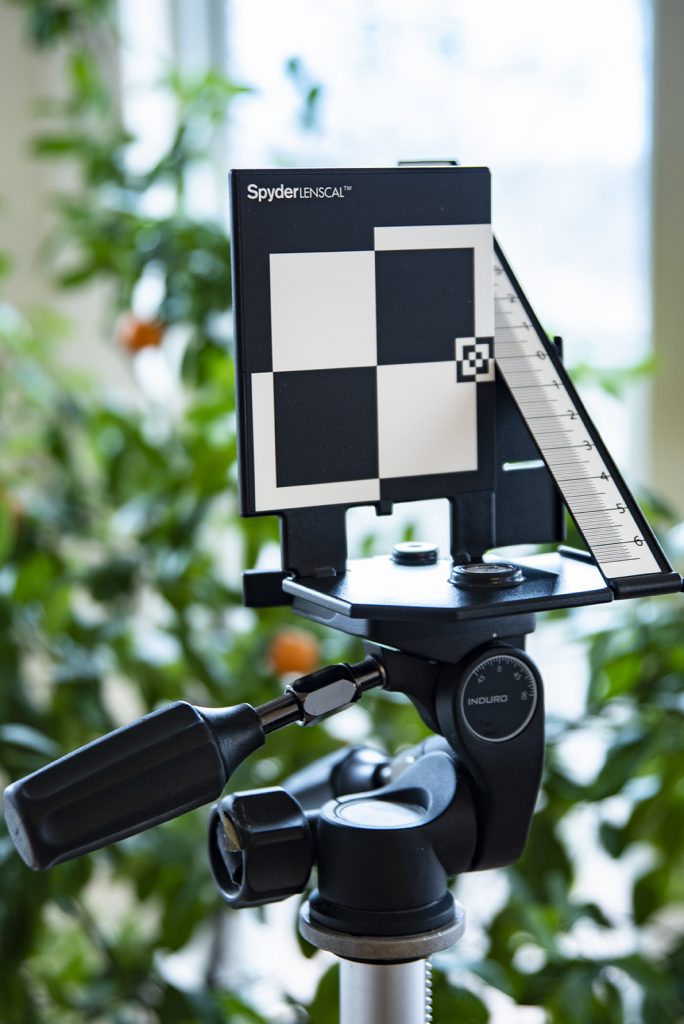
There are a wide variety of tools available for calibrating. There are a few DIY methods that are often free or low cost which involve pulling up calibration images on your computer screen, drawing lines on a page, or photographing text lines. While the low/no cost option is always appealing, it’s not always the most reliable or accurate option. There are also software calibration systems that you can use, it’s expensive, but are very precise. What I opted to use for this tutorial is the Spyder LENSCAL tool. The Spyder LENSCAL and other similar products provide accurate results while not breaking the bank and have proven quite sufficient for my pro shooting needs. To begin my calibration process I set up my Spyder LENSCAL on a tripod and my Nikon D810 on a second tripod. It is best to perform this test in a space with a lot of ambient light. So, outside on a sunny day, or in a well lit room during the day will do the trick. Do not attempt to calibrate your lens in a dark room with a single tungsten bulb! I put together my system in my kitchen that has two full walls of windows during a sunny afternoon. I faced the LENSCAL toward the windows to provide the best light and avoid any miscellaneous shadows that may throw off my focus.
Next, verify that your camera is pointed directly towards your LENSCAL (be careful that the two are at the same height) and both tripods are level. To help make the process of leveling easier use the bubble levels that are provided on most quality tripods. I was testing a wide variety of lenses from 50mm f1.8 fixed to a variable 70-200mm f2.8. The distance from my LENSCAL was slightly different for each lens based on each lens’ closest focusing distance. I placed my camera close enough to fill most of the shot with the LENSCAL and still focus.
At this point, I locked my tripods into place, set my camera on manual focus, and racked the focus ring so the scene was completely out of focus. This ensured that the auto focus system had to refocus each photo seperately. You do not want to rely on a single exposure when calibrating. The auto focus feature is not always 100% accurate, so follow this process 3-4 times and assess which image shows the most consistent focus point. Now, we adjust. Open your camera’s AF Fine-Tune option. You have the option of a flexibiliy (at least in my Nikon gear) of +20 to -20 adjustment.

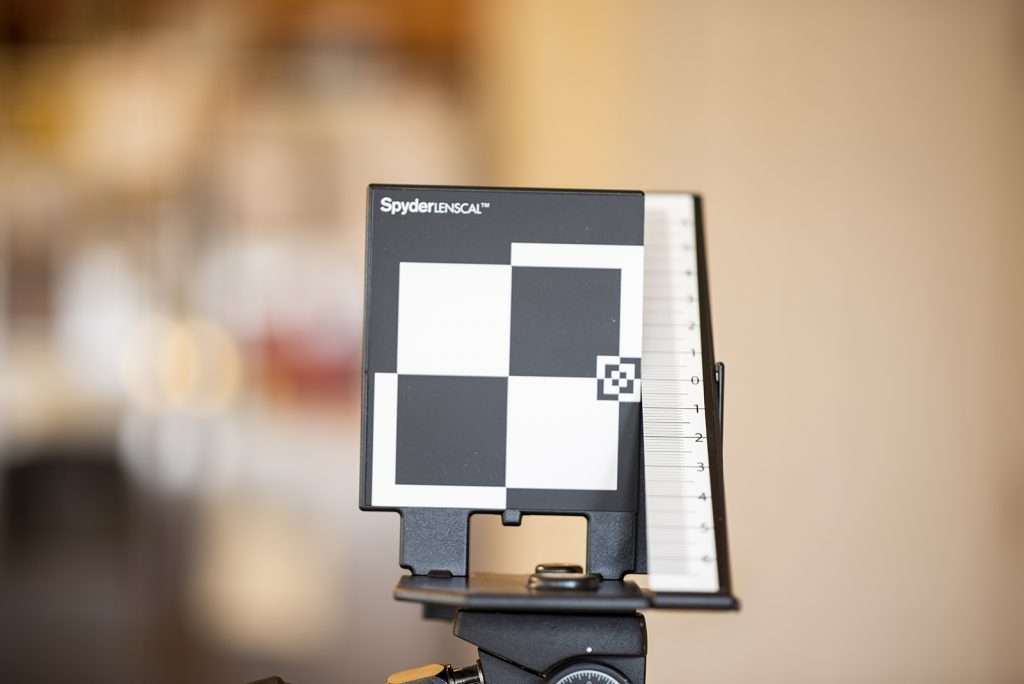
Below is the pre-adjusted image taken with my Nikon D810 85mm F1.8 lens. As you can see, the focus is pretty drastically off. The focus fell to the 1-2 closer to the camera. After a bit of fussing with my settings, this lens ended up needing pretty significant adjustments. To find the correct adjustment, I started small and kept finessing the adjustment until I had the correct image.
The below image is the final calibrated image at +20!

At this point, it would be best to verify your calibration and take your camera/lens combo on a test drive before using it for a paying job. Go outside and photograph something beautiful!
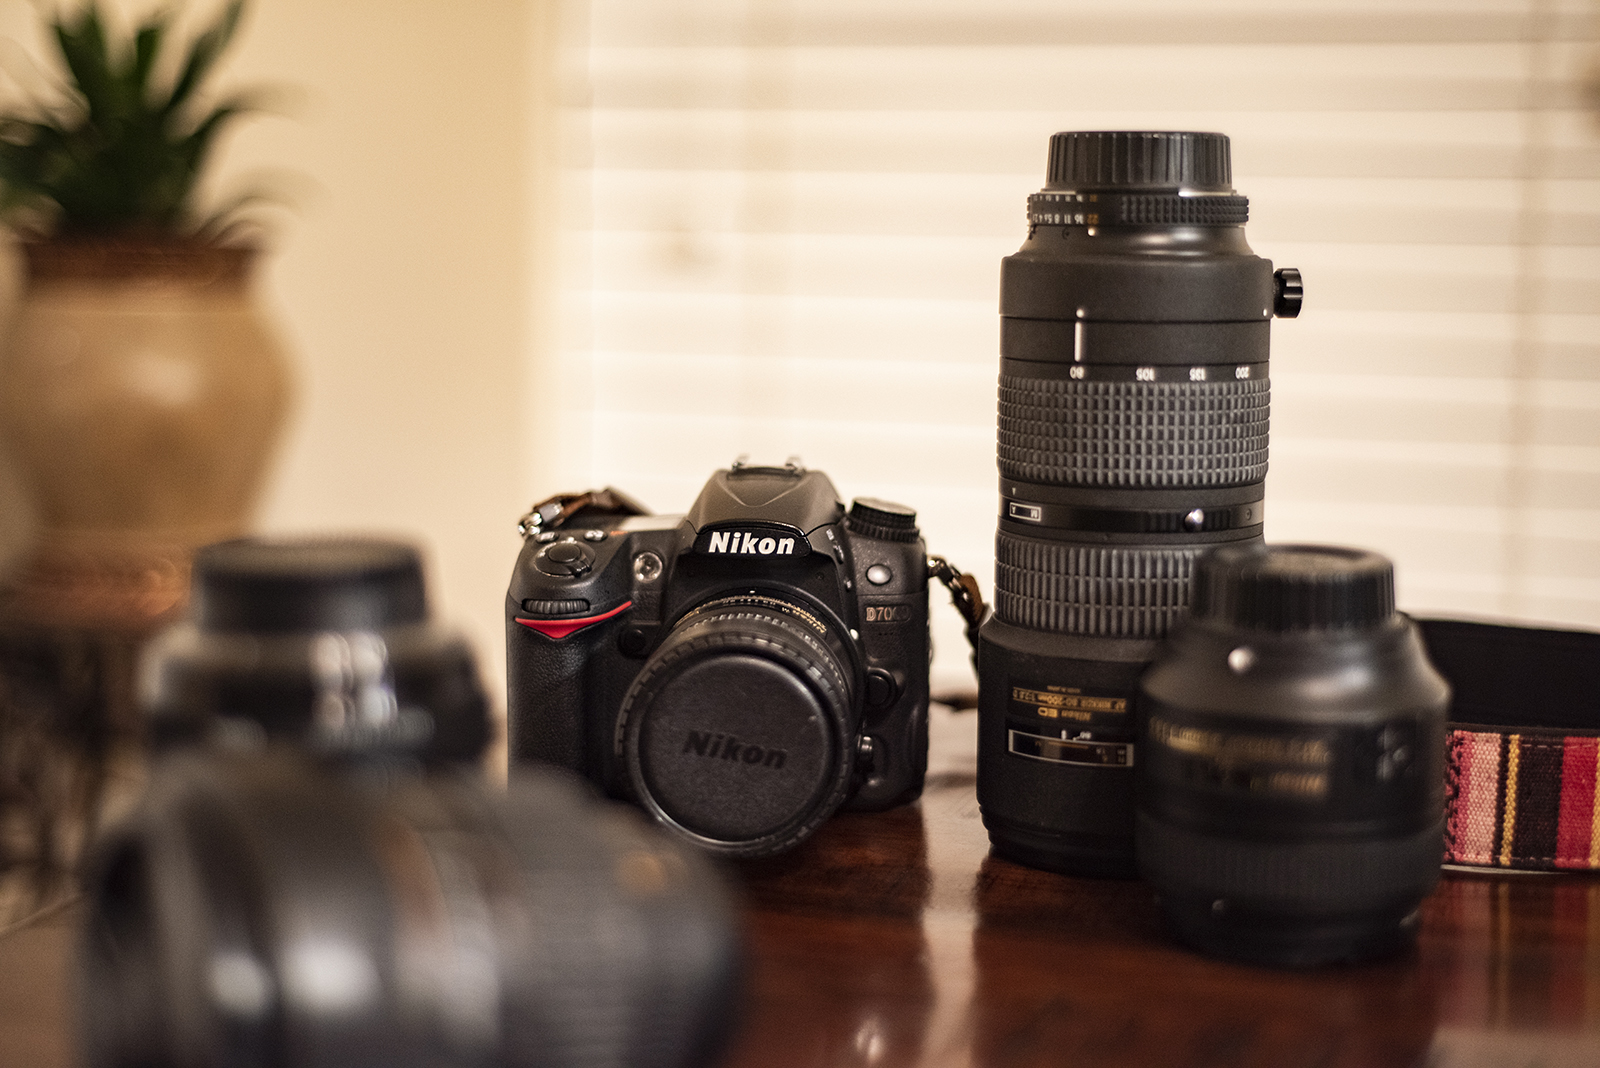
Now you’re done, right? Not really. You need to calibrate each lens you have with each camera body you use that lens on. I have two Nikon bodies I use regularly for weddings, portraits, and commercial work. I also own a 10.5mm, 35mm, 50mm, 85mm, and 135mm fixed lenses as well as 5 other variable length lenses that are put to use in a variety of circumstances. Each of these lenses needs to be calibrated multiple times a year for top functionality. While we would all like to believe that this is a one and done deal, with use and wear and tear, you will need to re-calibrate. I like to do this before wedding season begins each year and sometimes once during the busy season, or whenever I suspect my lenses are not functioning as anticipated.
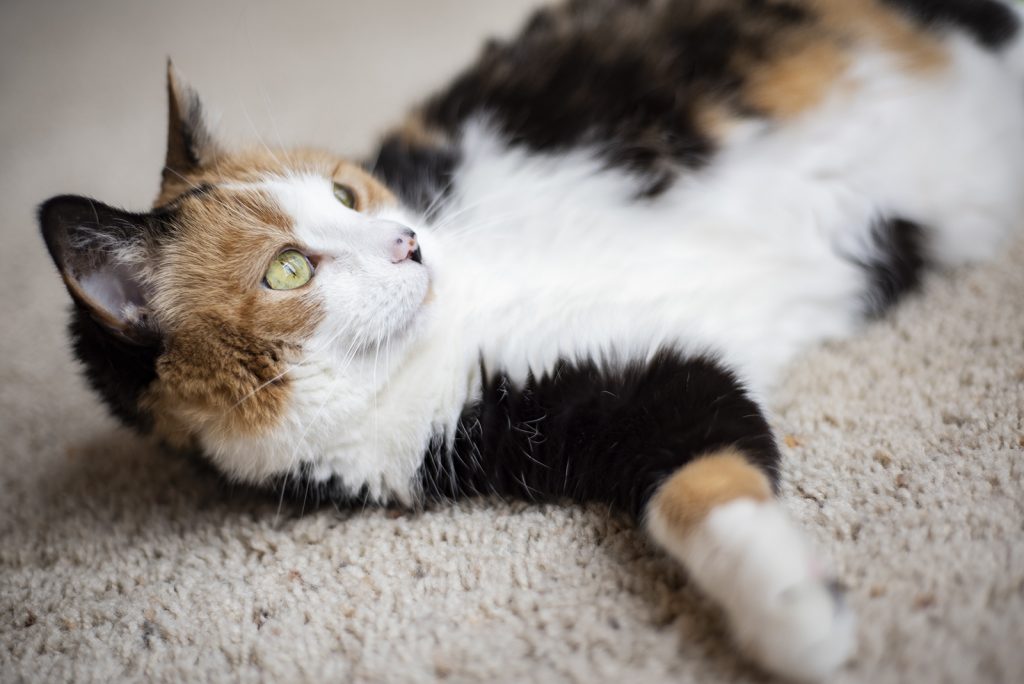
Here are a few of my test shots from my post calibrated system of my favorite three-legged cat, Freya. She is always a willing model who exhibits a wide rage of raw emotion from fierce to silly to “back off or I’m going to use my remaining front claws to take out your eye” in her ever present cat style.


All Included photographs are ©Krista Rose Frohling

